These were the two pom poms I made last week. They were my first projects in making pom poms. I find them a bit too big and loose. So, I decided to try and see if I can do better. Since I have a fair bit of spare yarns, material isn’t a problem.
For those who wish to have a look at my post on making pom poms last week, here is the link 👉
Making A Pom Pom
Material, equipment for making a pom pom. Yarns, a pair of scissors, two circular templates and two cylindrical objects.
Using the same templates from last week, I reduced their sizes a bit. I also found two empty lotion containers lying around. They seemed about the right size for what I had in mind, and they are an improvement over the toilet rolls. Nothing wrong with using the toilet rolls, mind you. But it is good to be creative and to be able to make use of whatever material that is suitable for the job. These days, we have to recycle, and reuse as much as possible.
I didn't do a good job of rounding them, but that's all right. It is not of the utmost importance.
I am using two strands of yarn. So, tie them in a knot and let them between the two cylinders. From there, loop them round the cylinders 100 times. The number of times depends on the thickness of the yarn and also the type of pom pom you like. For practice purposes, it can be any number of times.
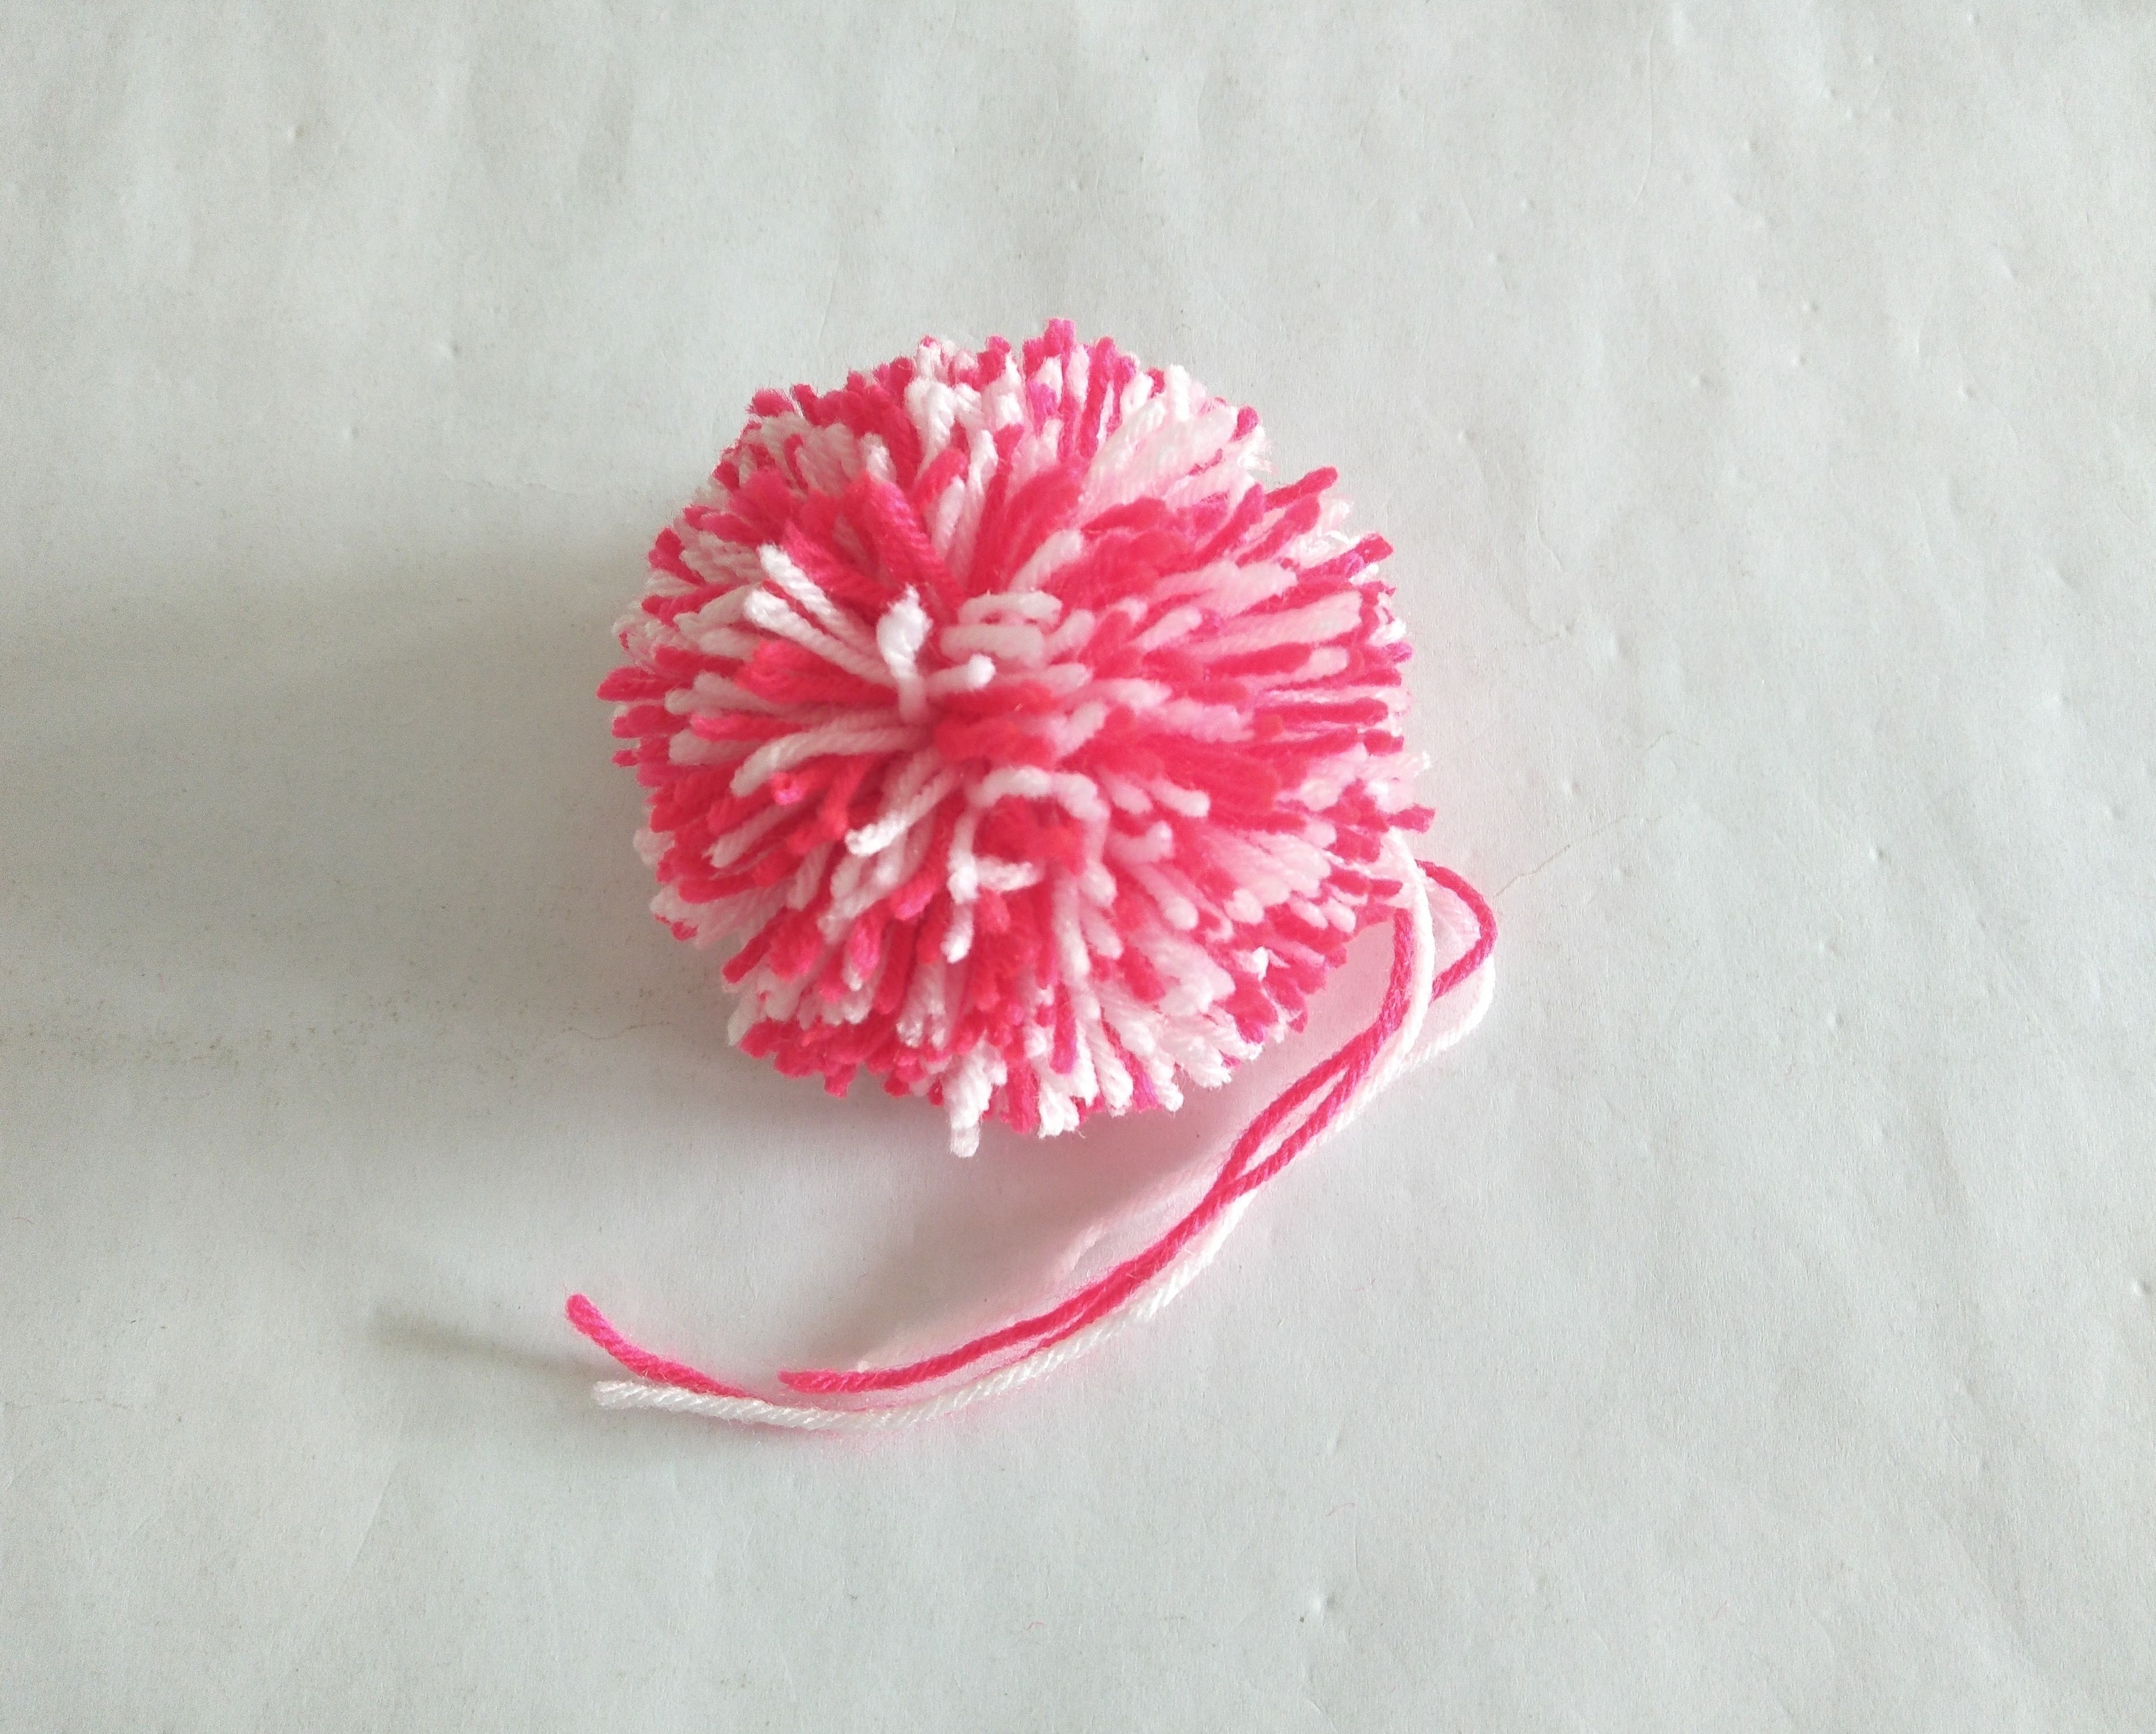
Tie them tightly in the center and remove them from the cylinders.
Cut both ends of the yarn.
Sandwich the yarn between the two templates and trim off the protruding yarn. Turn the pom pom 90 degrees and do the same. (Refer to my previous post for details.)
After that, it is the fun of trimming the bits until the pom pom is round. You will never get a perfect round shape. So, stop trimming when you are happy with it. Otherwise, you will find the pom pom getting smaller and smaller.
This is still a bit big. I could still trim it down, but I will leave it for the time being as I have no need for them. I will trim them later on if I need to. You can trim down a pom pom, but you can’t reverse the process once it is too small.
I saw a video in which the demonstrator was showing an easy way to make a pom pom. So, I gave that a try too. Wrapped the yarn around my four fingers, then removed them and tied them tightly in the middle. Cut the sides and then trim it round.
It turned out okay. So, you see, once you know the basics, you can always improve on your methods, or create new methods of doing it. That is part of the fun, part of the creative process.
I also trimmed one of last week's pom pom. Just for comparison. You get an idea of what is meant by loose, or tight.
Four pom poms of different sizes.
Once you know how to make a pom pom, you can go on to create your own pom poms. They are fun and easy to make. And you get a sense of accomplishment and satisfaction from your own creation.
~~~~~~~~~~~~~~~~~~~~ BLOGGER ~~~~~~~~~~~~~~~~~~~~
Thank you for stopping by. Follow me if you find my posts interesting. If you know of anyone who might appreciate these posts, do share the link with them. Cheers!
If you are a blogger and are interested in earning crypto coins, you might want to check out the Hive blockchain. It is a social media that pays tokens for your posts, which you can then convert to crypto coins.
You can use my referral link https://ecency.com/signup?referral=netizen01 if you like.
Let me know if you do sign up, I will come by and lend some support. Or, if you have any problem understanding how it works, feel free to ask me.


No comments:
Post a Comment