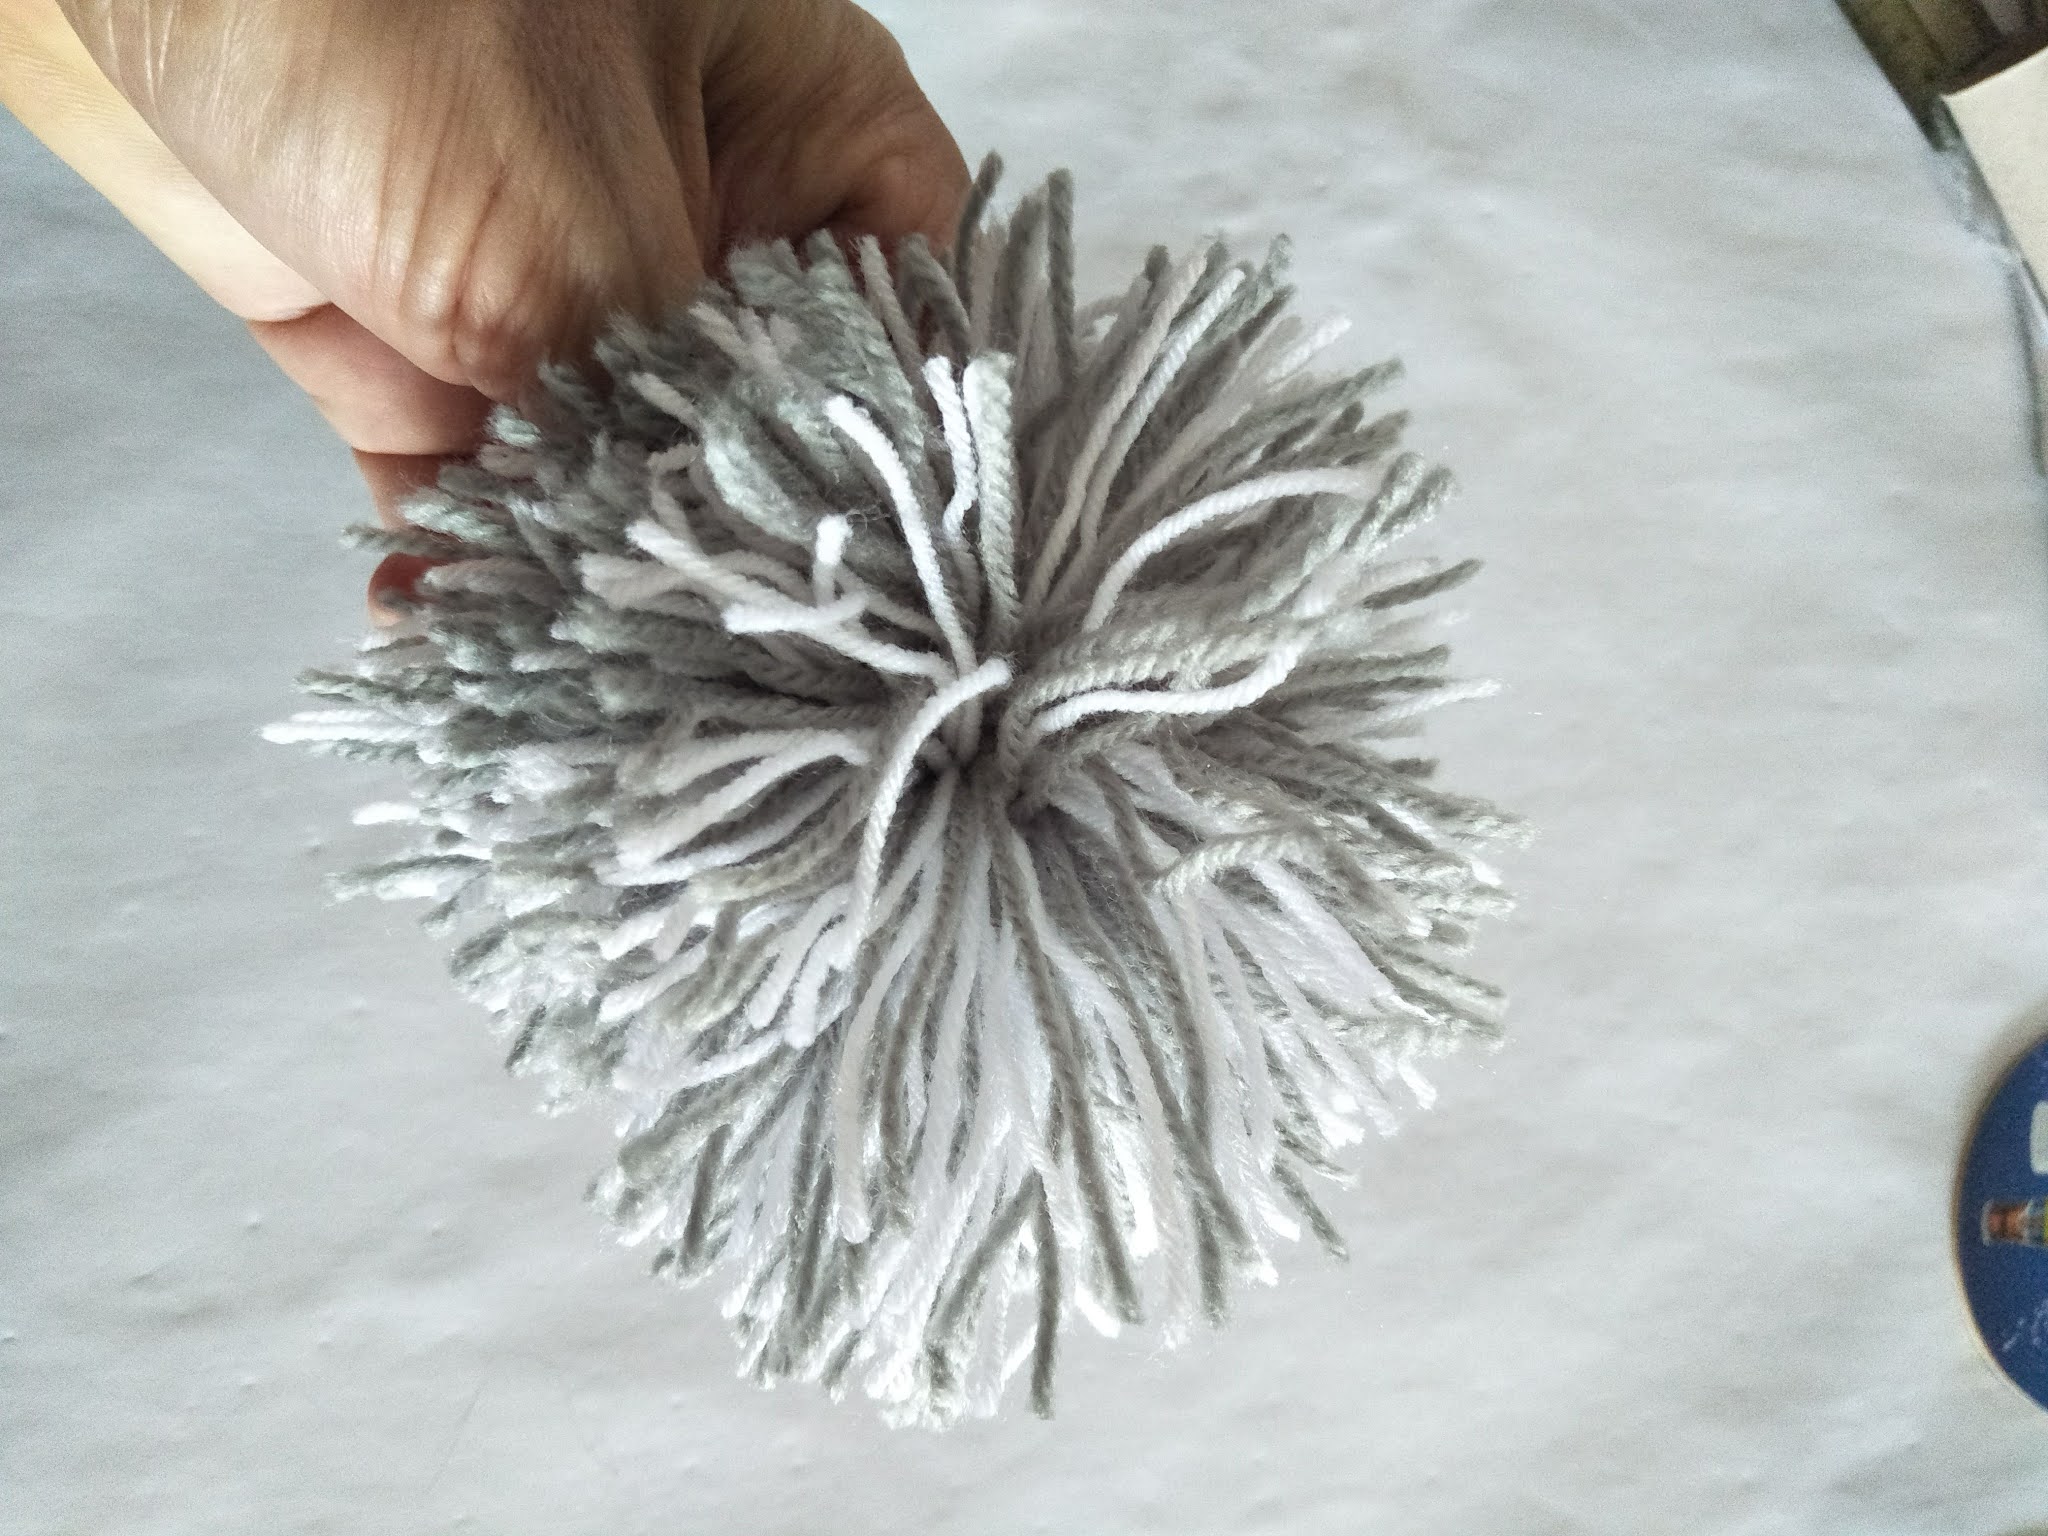
Two days ago was that someday. I watched the video again and followed the instructions in the video. Here are the results. Two of them.

Here’s how pom poms are made.
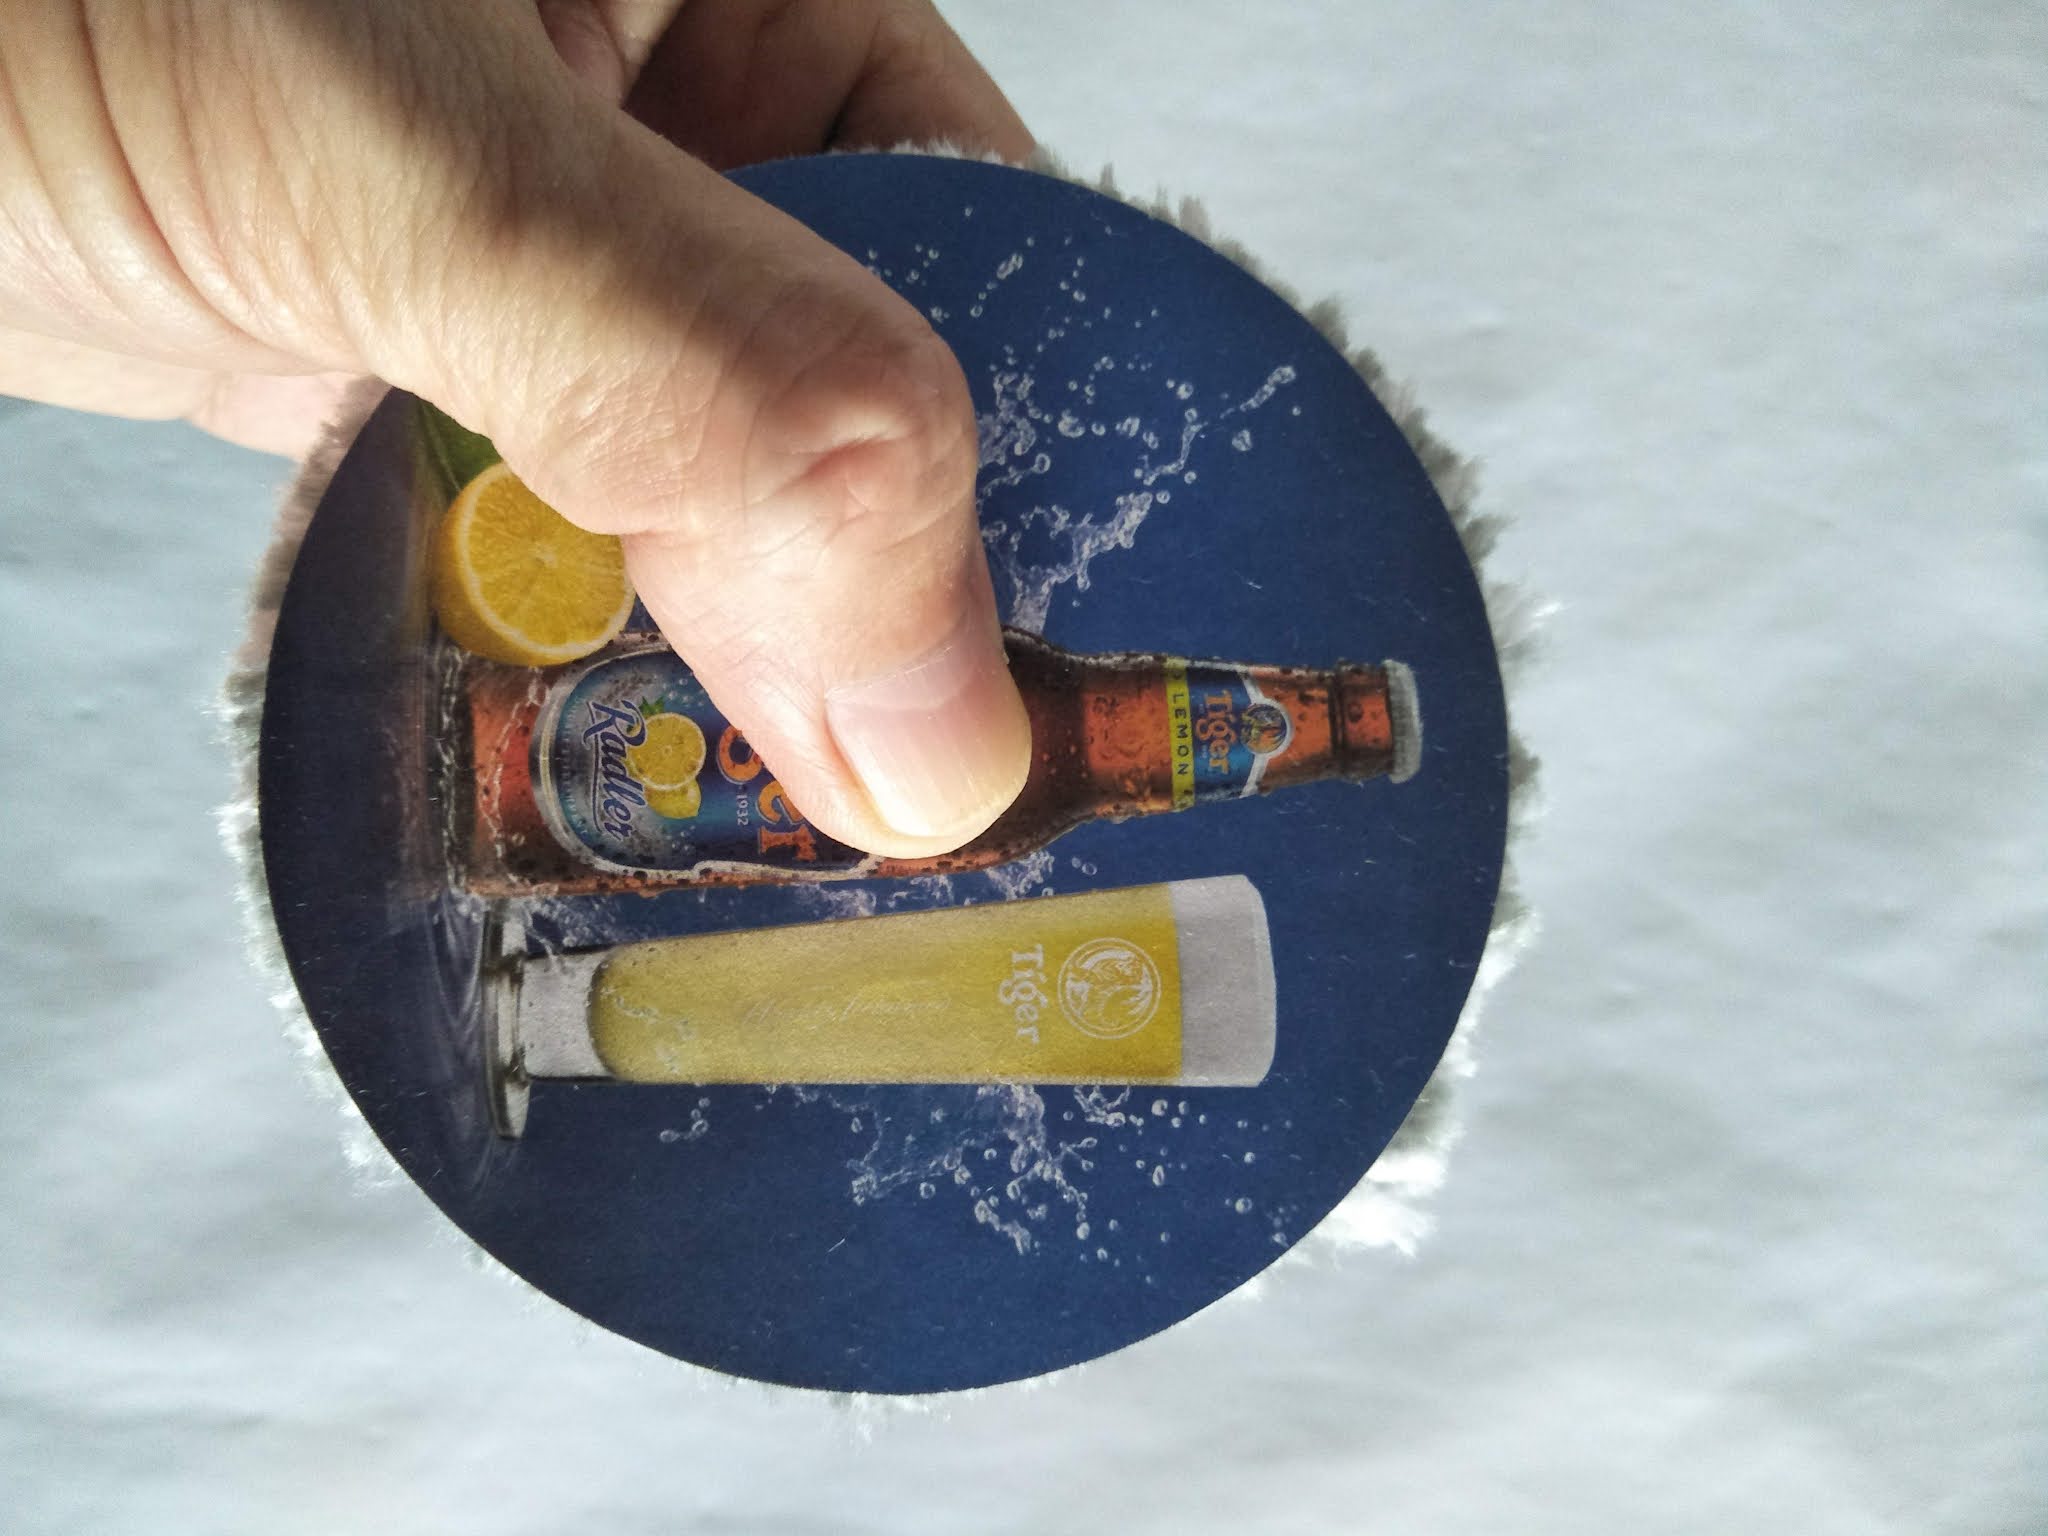
Before that, let’s see what are the tools needed for making pom poms. There are professional pom pom making tools. But I used improvised tools taught in the video. Anyway, here goes…
Besides the yarn, you need a pair of scissors, two cylindrical objects – I used two empty toilet paper rolls, two circle templates – I happened to have two beer coasters which fit the bill. You can use something similar, or you can make your own using cardboards. Make a hole in the center of one of the templates.


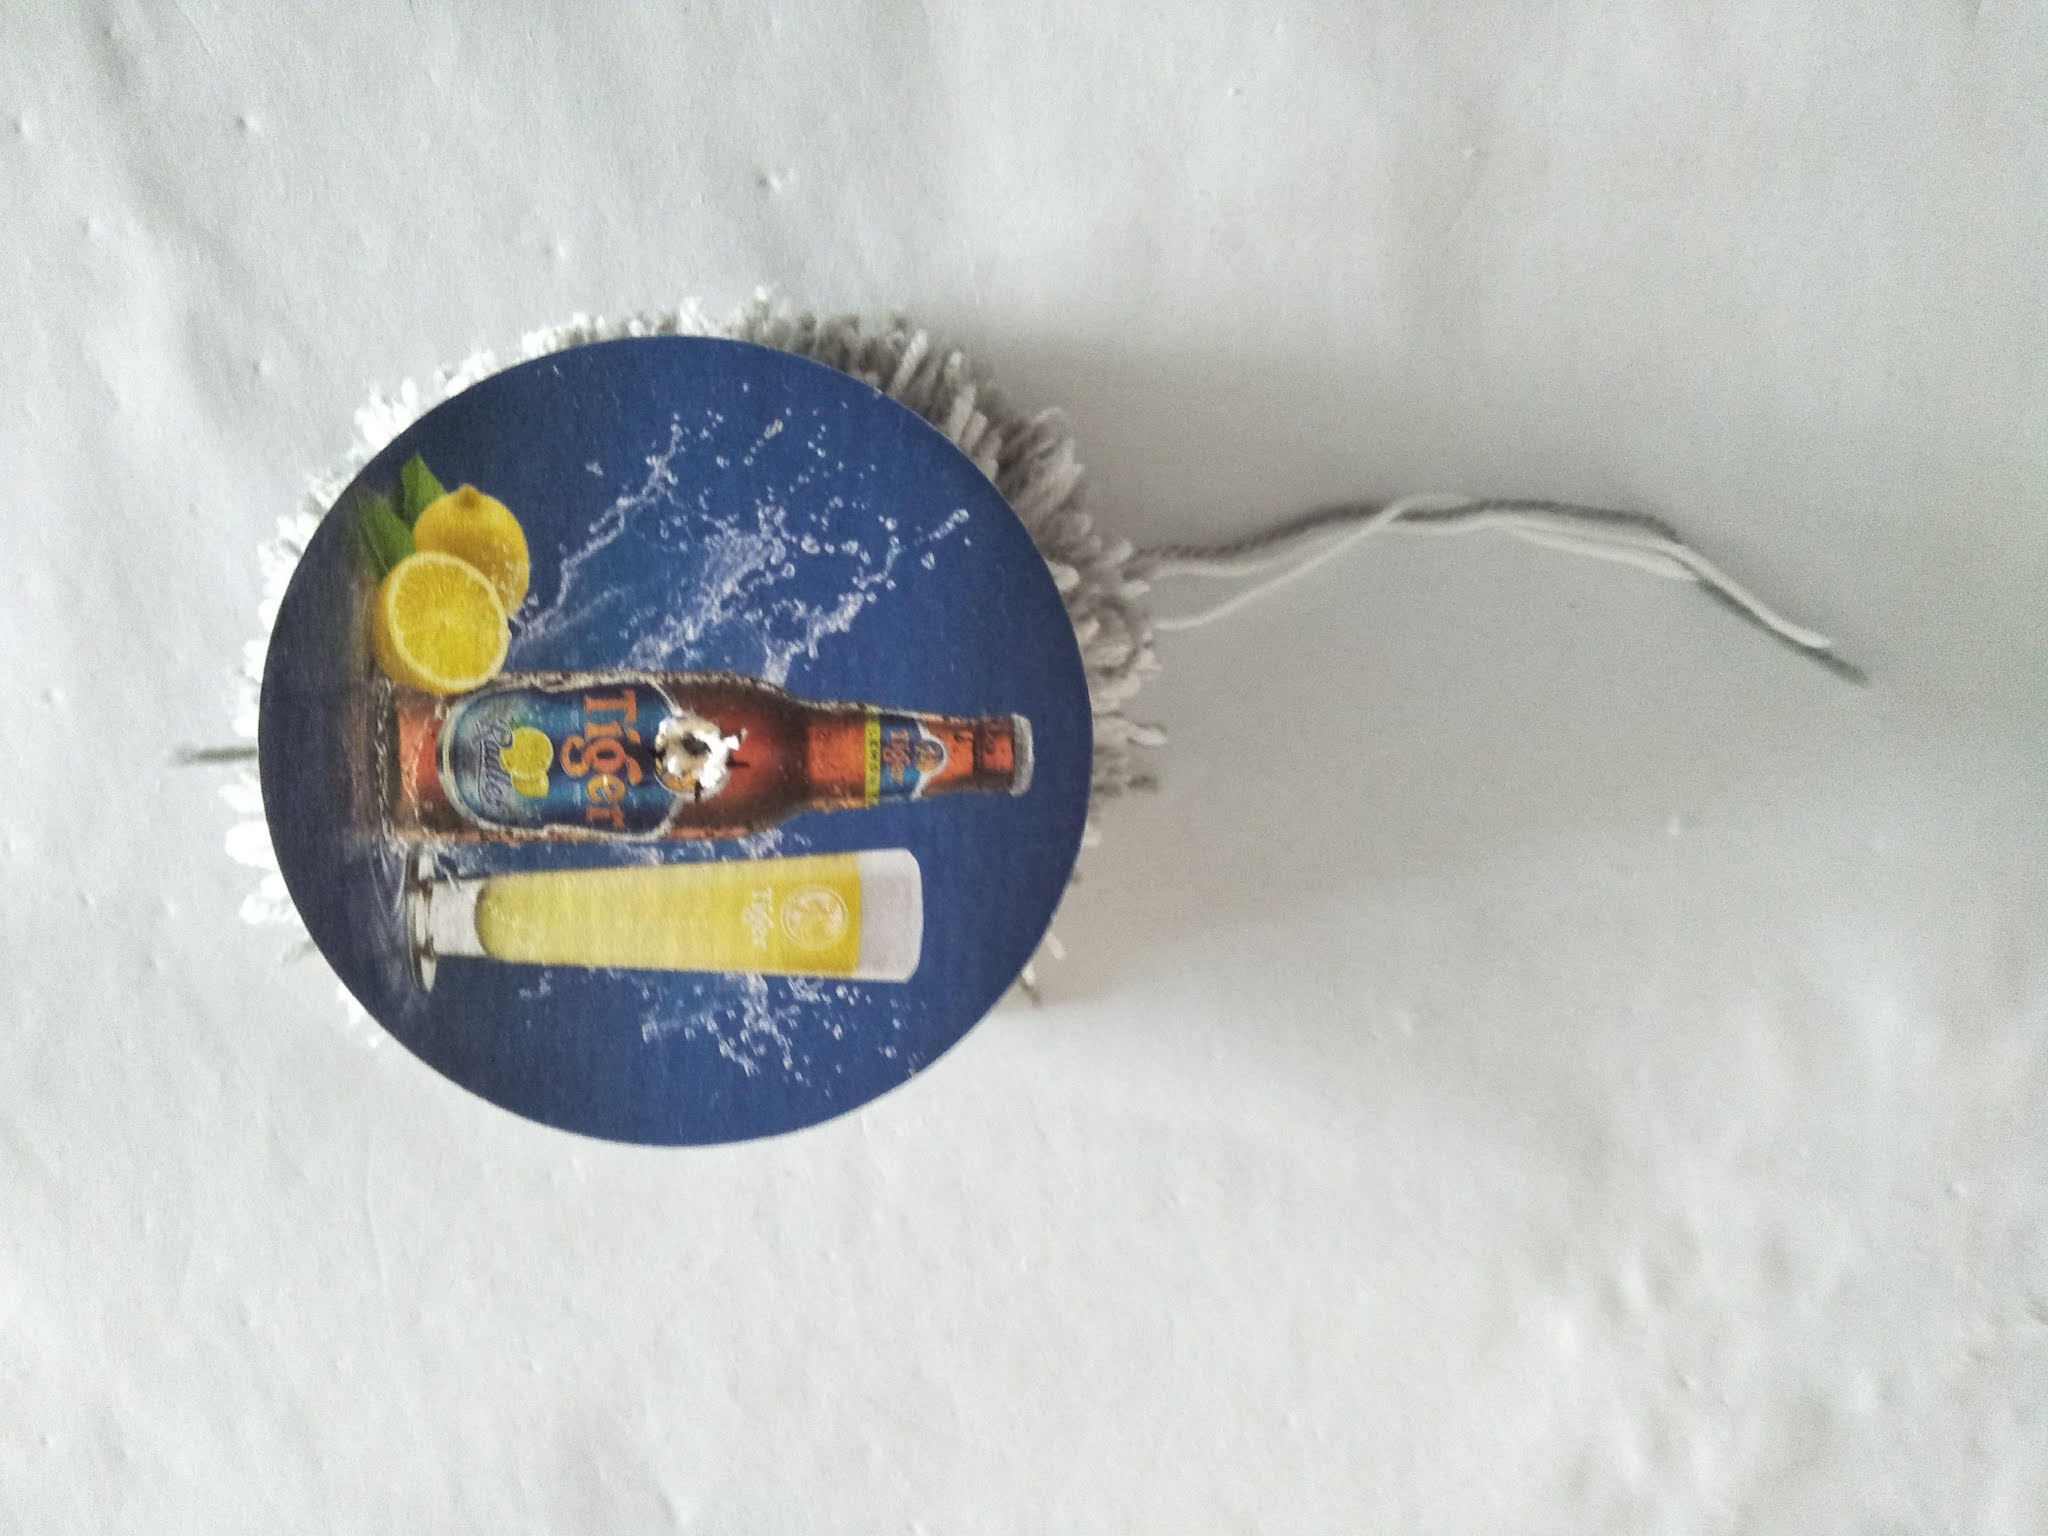


The illustrations here might not be very clear to someone who is new to pom pom making. There are many videos on YouTube showing how to make pom poms. Check them out if you are interested.
If I do more posts on pom poms in future, I will elaborate what I might have missed out. Any questions you may have, feel free to ask. I will try my best to answer them.
While trimming the edges of the pom pom, it might get messy. You might want to do that over a piece of newspaper. After you have finished, you can just wrap up the newspaper and dispose of the trimmings.

Thank you for stopping by. Follow me if you find my posts interesting. If you know of anyone who might appreciate these posts, do share the link with them. Cheers!
If you are a blogger and is interested in earning crypto currency, you might want to check out the Hive blockchain. It is a social media that pays tokens for your posts, which you can then convert to crypto coins.
You can use my referral link https://ecency.com/signup?referral=netizen01
Let me know if you do sign up, I will come by and lend some support. Or, if you have any problem understanding how it works, feel free to ask me.
No comments:
Post a Comment